Slab Molds & Tools

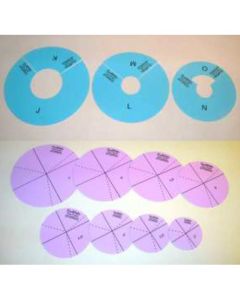
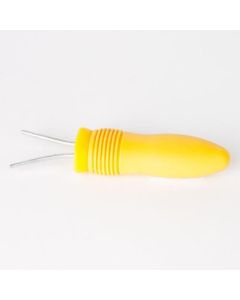
Bailey carries several different tools for use during clay slab building including Bailey slab dividers and templates.
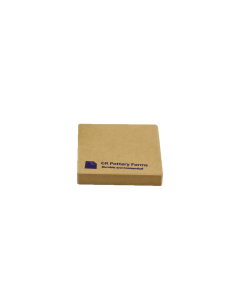
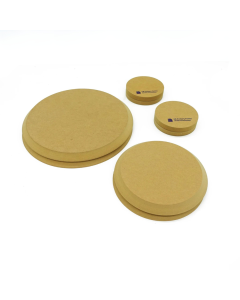
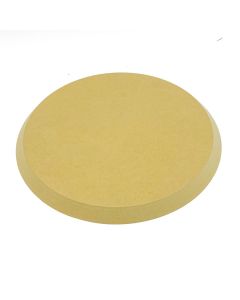
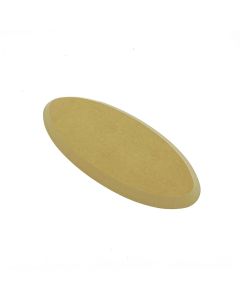
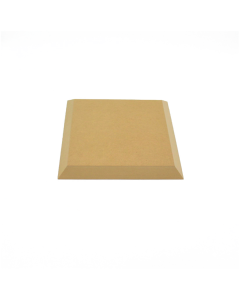
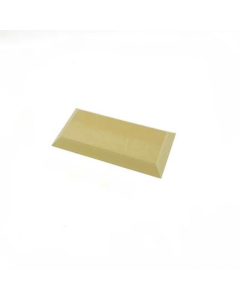
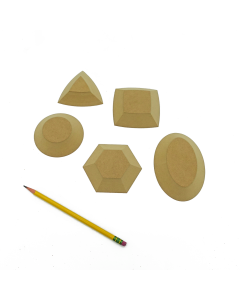
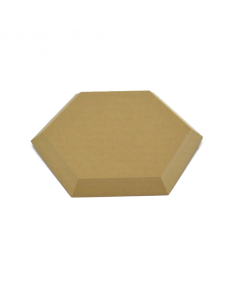
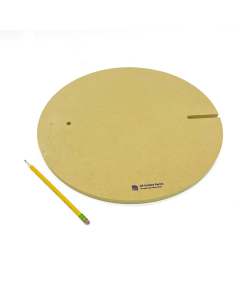
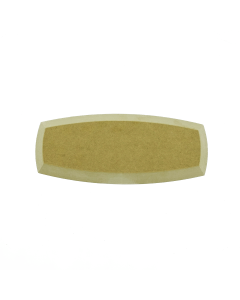
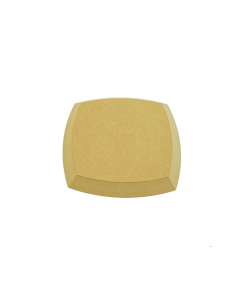
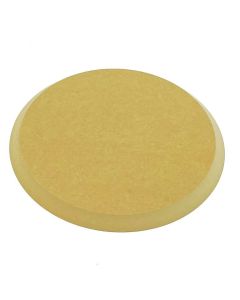
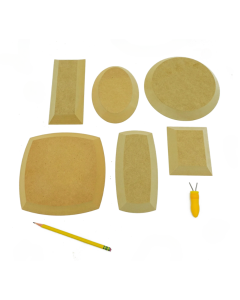
Wood drape molds are ideal for making dinnerware and serving platters. They are cut and beveled fiberboard which make them durable and economical.
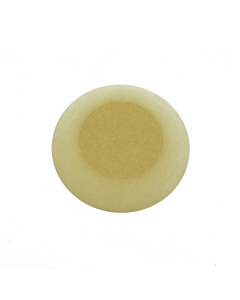
Slump/Hump Molds are used to form slabs of clay into different forms. Slump/Hump Molds are heavy duty, re-usable, plastic molds for casting plaster forms. Each mold is reversible and can be used to create both a 'slump' and a 'hump' plaster form of the shape shown.
-
-
-
-
-
-
-
-
-

-
-
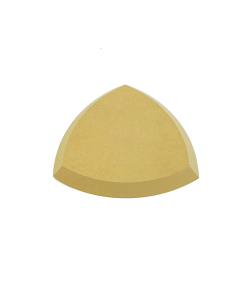
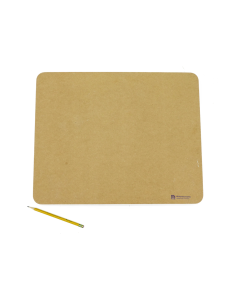
 SKU:C-045-012-1Wood Drape Mold 8 in Right Triangle- While Supplies LastRegular Price $10.49 Our Price $9.97
 -
-
-
-
-
-
-
-
-
-
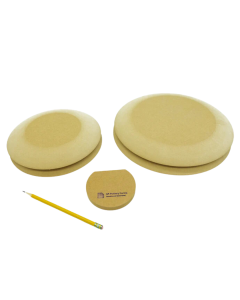 SKU:C-045-024-5Wood Drape Mold: RD2 Soft Edge-Variety Pack Soft EdgeRegular Price $55.95 Our Price $53.15
 -
-
-

My Wish List
Last Added Items
You have no items in your wish list.